Free Craft Project
Paper Mache Animal Hats
These paper mache animal hats are the perfect opportunity to get kids involved with a craft project. It's not only fun, it can get pretty messy. Just the way kids really enjoy it!
Materials
- newspapers cut in strips (approx. 1" wide)
- paper mache paste (1 cup flour, 2 cups water)
- poster or water paints
- inflated balloon
- construction paper (various colors)
- Elmer's glue
Instructions

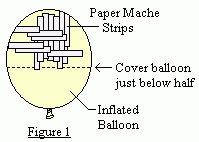
Saturate newspaper strips with flour paste. Apply 5 to 6 layers of strips on the inflated baloon, criss-crossing and overlapping until a little over half of the balloon is covered (Figure 1).
Allow to dry overnight.
Pop balloon, remove, and then discard it in the trash.
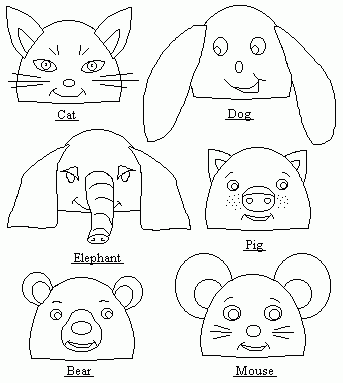
Paint the hat whatever color you like. You can even make it look like fur or hair. Allow to dry and then add details to the hat. You can either paint the eyes, nose, whiskers, etc., or you can glue on construction paper cutouts to denote eyes, nose, whiskers, etc.

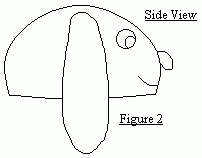
Cut construction paper ears shaped according to whatever animal you have chosen. Position on hat and then glue in place.
If the bottom edge of the hat is sharp or rough, simply trim it with scissors. To create a "finished" look, you can glue a strip of cloth around the edge where the hat will rest against the child's skin.


