Free Craft Project
Beaded Easter Egg
Submitted by Karen Hunady from Crafts For All Seasons.
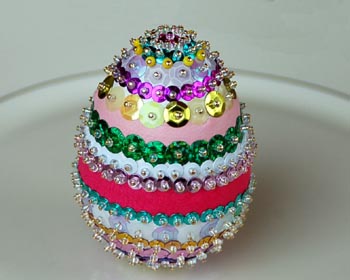
This beautiful beaded Easter egg is made using a foam egg, straight pins, sequins and beads. These eggs will last for years to come. A nice tradition is to make one per year, and keep adding to your collection. You don't need many supplies, just a foam egg, sequins, seed beads, and straight pins.
You can also add ribbon, as I did in this project. Where you use the eggs is up to you. They would look beautiful as part of a centerpiece or as part of a wreath. They will last for years to come. A nice tradition is to make one per year, and keep adding to your collection.
Materials
- Foam egg (any size you choose)
- Package of 1/2 inch straight pins (I used gold ones)
- Package of small colored sequins
- Package of large colored sequins
- Clear seed beads
- Ribbon and scissors (optional)
Instructions
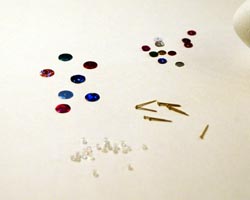
1. Here is a photo of some of things you will need to begin your beaded egg craft. The size of the foam egg, pins, and sequins is not important. Pick out any size that looks best to you. You also do not have to use different size sequins, but it does add to a more patterned look.
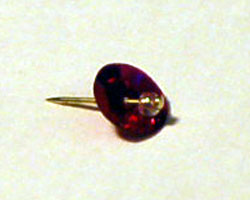
2. The basic tutorial is to cover the entire egg in pins threaded with a bead and a sequin. You will want to begin at the very top, and then work your way around the the egg in rows, placing each sequin right next to each other. To thread the pin, first put on a clear seed bead. Then, thread on a sequin. Make sure the sequin is threaded so the curve of the sequin faces towards the egg, to create a smoother look.
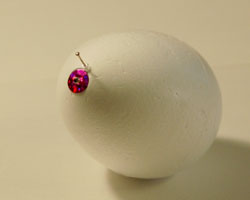
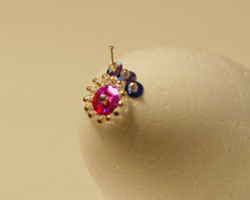
3. Push the first sequin pin on the top of the egg, as shown.
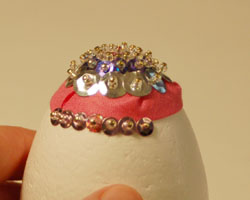
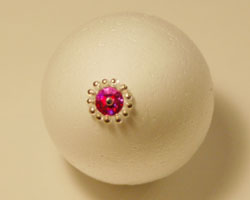
4. Work around this pin, adding on more sequins around the first sequin in a ring. In this project, I added pins that were just threaded with a seed bead around the top sequin.
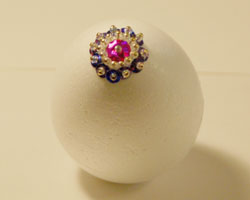
5. Continue this way, changing colors of the sequins for each band you make.
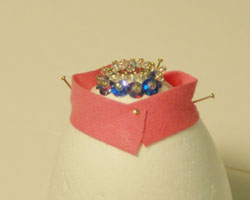
6. To incorporate a ribbon, first pin the ribbon in place. Add a row of sequins above the top edge of the ribbon. Have the sequins overlap the ribbon slightly (this will hold it in place). Then, add a row of sequins below the ribbon, overlapping over the ribbon again slightly. Then you can take the pins out the ribbon that was holding it in place because the sequins should be securing it.