


Free Craft Project
Halloween Ghost
Submitted by Karen Hunady from Crafts For All Seasons...
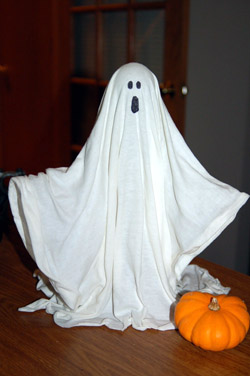
This fabric stiffened ghost is a fun Halloween decoration to make, and it is much easier than it looks. The end result is very eerie, because the ghost doesn't have anything supporting it. The result is quite ghostly!
Materials
- a square piece of white cloth (I used an old sheet) OR cheese cloth, about 18 inches X 18 inches (size ultimately depends on your mold)
- fabric stiffener or liquid starch
- bowl or pail to mix fabric stiffener in (disposable is best)
- styrofoam cone (I used one that was 9 inches tall, 4 inch base)
- coat hanger, or other long strong wire
- wire cutters
- wax paper
- aluminum foil
- toothpick
- black marker
- newspapers (to protect work area)
Instructions
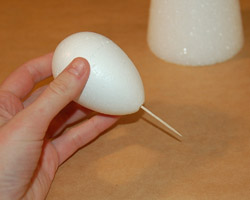
1. Begin the fabric stiffened ghost by making the ghost mold. You can get creative and try some different ways. By far, I have found the most easiest is to use a styrofoam cone and egg shape. You can re-use the cone and egg for another purpose when you are finished. Begin by poking a toothpick halfway into the styrofoam egg or ball halfway. Then, use this as an anchor to attach the ball to the cone.
2. Next, use the wire cutters to cut off the bottom straight part of a coat hanger. Thread this coat hanger wire through the top of the cone, to be the support for the arms.
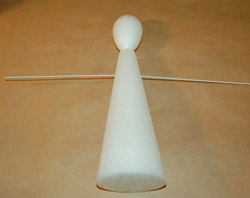
3. Add some foil around the arms to give them some more girth. Place your mold on top of some wax paper.
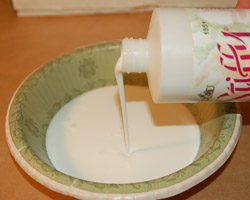
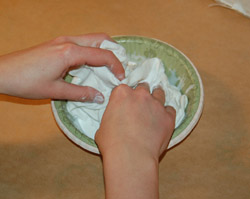
4. Cover your entire work area with newspapers. This is going to be messy! Pour some fabric stiffener or starch into a bowl. Saturate your white cloth in the fabric stiffener. Make sure it is all covered.
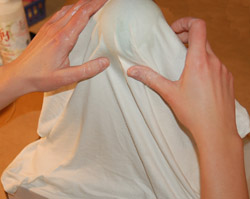
5. Lift out the cloth, letting the excess fabric stiffener drip off. Then, drape the cloth over the mold. This part will be a little messy. Take your time. Once it is on, adjust all the fabric to be even on the front and back and sides. Adjust any folds. The way you see it now is how your final product will be, so make any adjustments now. If you have to re-apply the cloth, do so until you get the desired look. At the bottom of the ghost, make sure the fabric touches the base well (the wax paper). The ghost will have no other way to stand up than the fabric falling on the base, so adjust this so it will have good stability. Use props to help lift the arms if needed... here you see I used some glasses to add support to the arms. Allow the fabric stiffened ghost to dry overnight.
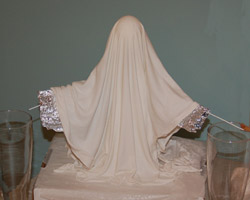
6. When the ghost is dry, carefully remove all the inner mold parts. This is the fun part! Take your time, and rest assured everything will come out and the ghost will snap back to normal! The last thing to do is to use a marker to add the face.