Free Craft Project
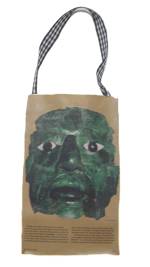
Magazine Purse
by Henrietta Timmons of Henrietta's Handbags & Purse Patterns
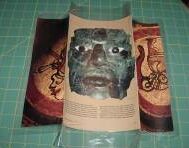
 This particular pattern uses National Geographic magazine but any magazine will work.
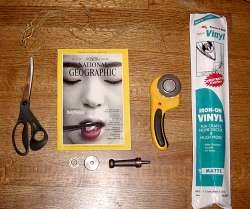
Materials:
- Therm-o-web - matte or glossy finish
- neutral color thread
- cording or ribbon for purse handle
- grommets or large eyelets
- National Geographic magazine
- craft knife
- sewing machine
Instructions:
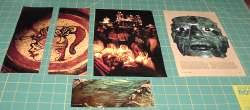
Cut out pages from National Geographic very carefully. You will need 2 large pieces for the front and back, 2 for the sides, and 1 for the bottom. Your pieces will be:
- 9-1/2" by 6" - 2 pieces for front and back of bag
- 9-1/2" by 3" - 2 pieces for sides of bag
- 6" by 3" - 1 piece for bottom of bag
Attach the Therm-O-Web to your pattern pieces by following the manufacturers directions. Have about 1" extra of Therm-O-Web on each side of your piece. This makes it easier to line all your pattern pieces up for sewing.
Have your front panel face up. Carefully line up both of the sides, one at a time and sew.
Attach the back panel the same way by lining up the edges and sewing.
Now comes the hard part. Line up your bottom even with the 4 panels of the purse that you have already sewed. If one side is a little long or wide, trim it to fit.
I know that it is awkward but do the best you can by sewing up the bottom, one side at a time. You may need to bend the bag a little but sew as straight as possible.
Measure out where the grommets (or eyelets) will go on the sides of your bag. Install according to manufacturers directions.
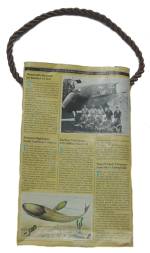
Use either a ribbon or cording as a handle and tie this off inside the purse.
Options:
To make the bag stronger, simply reinforce all 4 panels with additional National Geographic pages. Use Therm-o-Web on each of these. Place the matching sides together and they will stick to each other.
For the handle, you could use webbing. Place the webbing between the sheets of magazine paper on each side of your bag.
If you want fabric lining, just measure out the material about 1/2" longer and wider on each side. Fold these sides down and glue the fabric on the paper on all 4 sides.
Finished Bag