Free Craft Project
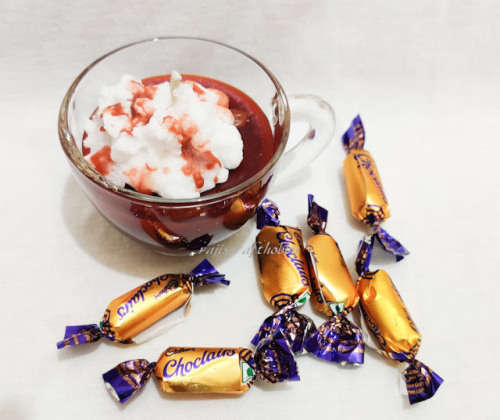
Hot Chocolate Candles
Whether you're a chocolate lover or not, these hot chocolate candles are absolutely the coolest thing you can make. Talk about "eye candy". Plus, they're very easy to make. So you'll want to create lots of them - for you, for friends, for family members. What a unique and perfect gift!
This project was submitted by Raji from Raji's Craft Hobby. Make sure you check out all his other great craft projects.
Materials
- paraffin wax
- candle wick
- wick holder
- candle dye
- glass tea cup
Instructions
Before we get started, one quick tip. Its always advisable to use a pan with a handle. That way you can easily pour the wax.
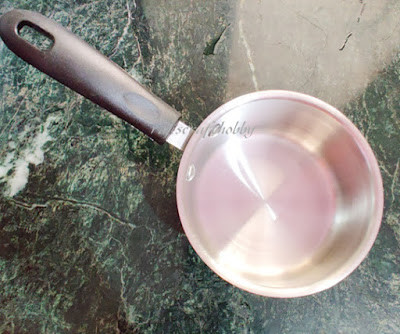
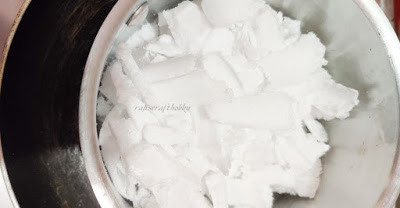
Start by cutting the wax into small pieces and putting them in the pan.
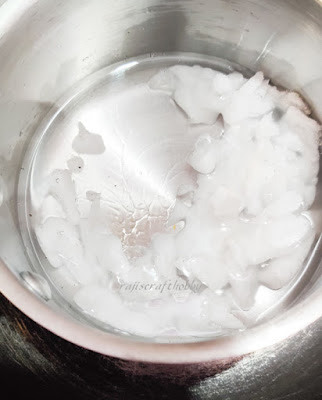
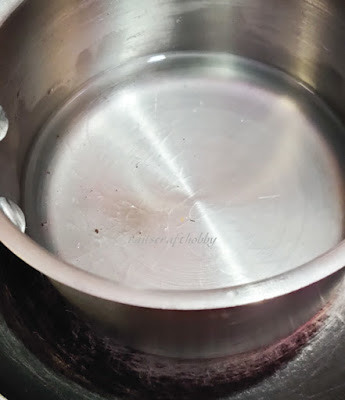
Use a double boiler method (two pans) to melt the wax. The wax is in the top pan. Water goes in the lower, slightly larger pan. Use a low heat setting.
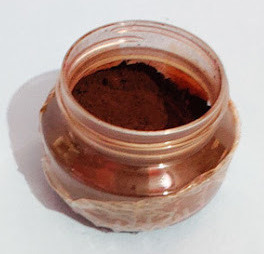
For a brown chocolate color, you can use either liquid or powder dye.
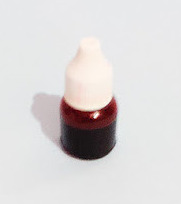
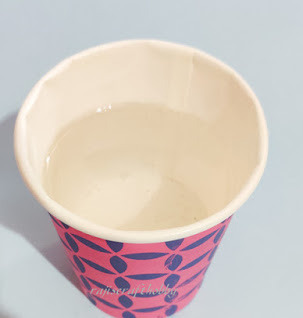
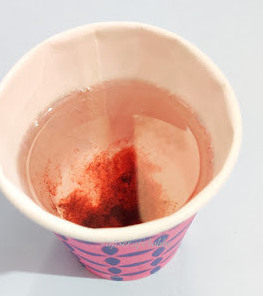
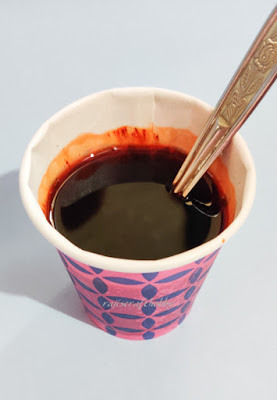
Pour the melted wax in a disposable cup or glass and then mix in the brown dye with a spoon.
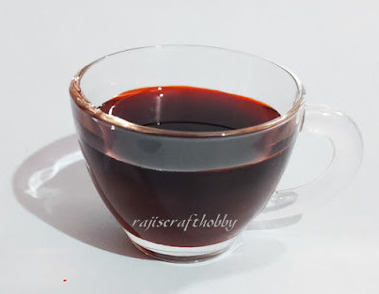
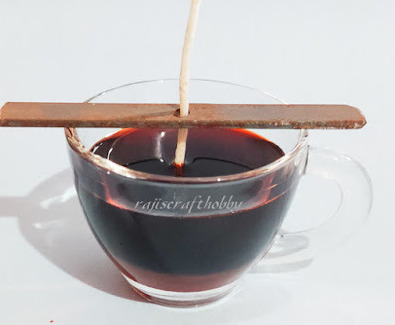
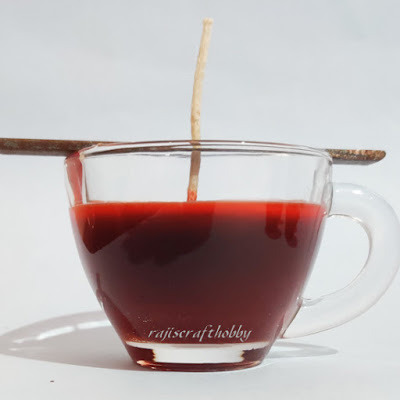
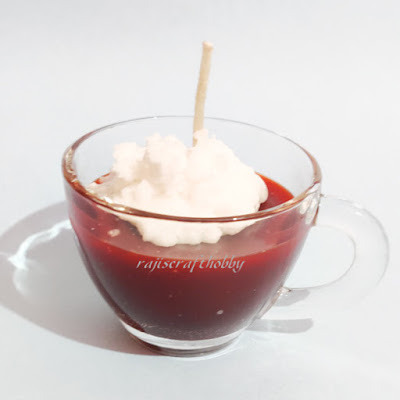
Now gently pour the colored wax into the glass tea cup.
Secure the wick in place using a holder. If you don't have an actual wick holder, a toothpick, ice cream stick, or bamboo stick will do. Anything to hold the wick in place.
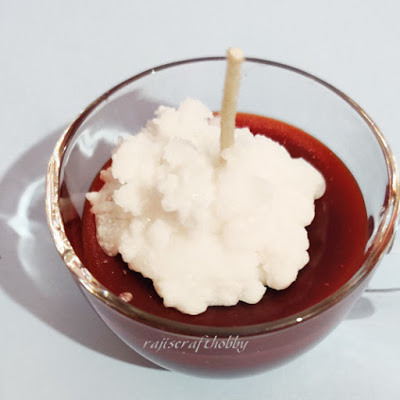
Next comes the whip cream. Use a piping bag to squeeze it onto the hot chocolate candle.
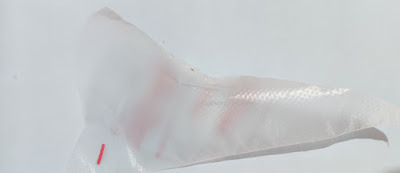
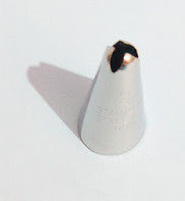
Cut the tip of the bag and insert the icing nozzle. (If you don't have a nozzle, you can still squeeze out the wax.)
Place the bag inside a disposable cup.
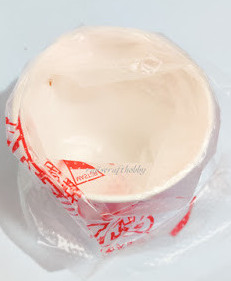
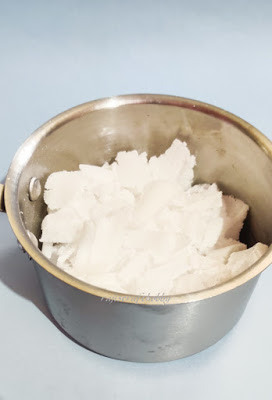
Put melted wax in another disposable cup and mix in white color. Set it aside so it can cool down until it firms up.
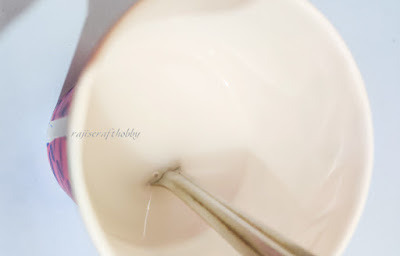
Whip the wax with a spoon or electric whisk.
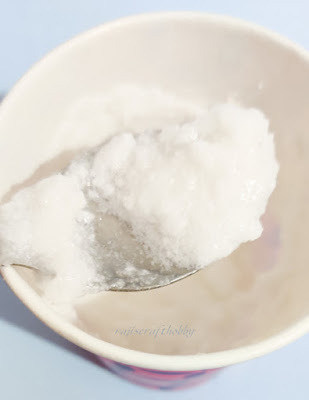
Put the whipped wax into the piping bag.


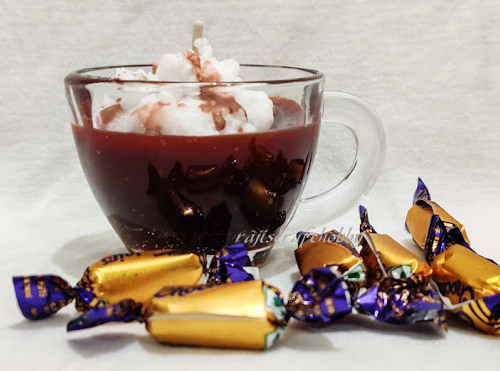
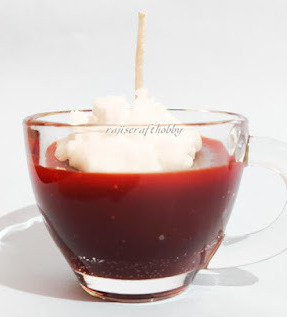
Pipe the wax to simulate whip cream, making sure to cover the wick all the way around.
Drizzle some brown colored wax on it.
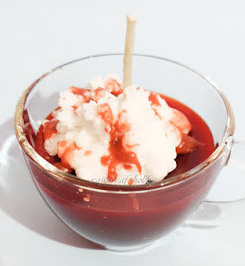
Allow it to cool and then trim the wick if needed.