


Craft How To Instructions
Candle Making - Scented Square Pillar Candle
How To Make Candles - Introduction
How To Make Hurricane Luminaria Candle
Supplies:
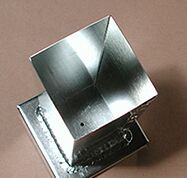
- 6.5" x 2" square metal mold
- 1 lb. of 140 wax
- 1 wax melting pitcher
- 1 tsp. Kemamide
- 1 tsp. Vybar 103
- 1 stir stick
- 1' waxed 21 ply flat braid wick
- 1 liquid measure
- 1 wood lighting stick
- 1 pair safety goggles
- 1 kitchen scale (1 lb. capability)
- heat source (kitchen stove)
- 1 can silicone spray
- aluminum steamer pot
- 1 teaspoon
- 1 dye chip
- 1 thermometer
- 1 jiffy wicker
- 1 small wicking needle
- 1 2-oz. bottle scent
- 1 box (empty)
- 1 hammer
- 1/2 gallon of water
- 1 pair scissors
Spray each mold lightly with Silicone Spray (This procedure MUST be performed outside in a well ventilated area. Read and follow directions on the can label.)
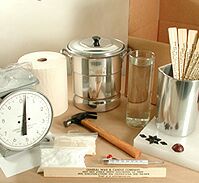
What you need to melt wax:
- 1 - wax melting kit
- 11 lbs. 139 - wax
- 1 - box (empty)
- 1 pair of safety goggles
- 1 hammer
- 1 kitchen scale (1 lb. capability)
- 1/2 gallon of water
- Heat source capable of boiling water (kitchen stove)
- 1 roll paper towel
- 1-1/2 tsp - Kemamide release powder
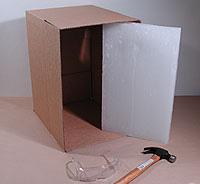
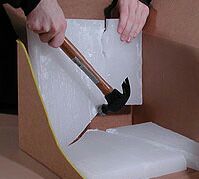
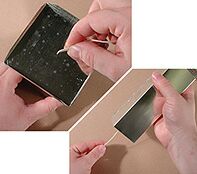
Start with an empty box, the block of wax, the pair of safety goggles, and the hammer.
NOTE: We are going to break up the block of wax into small pieces. The smaller the pieces of wax the quicker it will melt. The reason for the box is to help contain the mess that could be made while breaking up the block. It is important to wear protective eyewear while breaking up the block of wax.

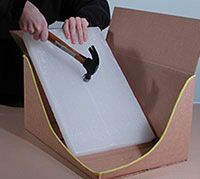
Set one end of the block of wax down into the bottom of the box, holding the other end up with your left hand.
With the hammer, hit the block of wax directly in the center with a good follow through swing.
The wax will break into two or more irregular pieces.
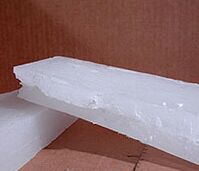

Take one of the pieces and prop it up on an angle against another piece so that there is an empty space underneath the first piece.
With a follow through swing, hit the propped up piece with the hammer.
NOTE: Do not worry if none of the pieces are quite square, you just want to get close to this size.
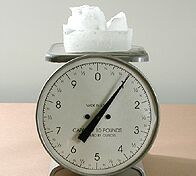
Place pieces of wax onto your kitchen scale until you have 1 pound of wax.
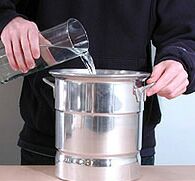
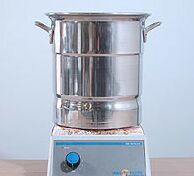
Fill the steamer pot half way with water. Put the steamer pot on a heat source for the water to boil.
Bring the water to a boil. After the water has started boiling, turn the heat down to a simmer.
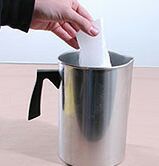
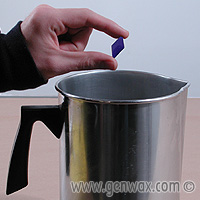
Place 1 lb. of wax into the melting pot. Add 1 (Teal) dye chip.

Add 1 tsp. of Kemamide release powder P0344829.
Add 1/2 tsp. Vybar 103. For a heavily scented candle, use 1 tsp. Vybar 103.
Place the melting pot with the wax into the simmering water in the steamer pot. The handle of the melting pot will hang outside of the steamer pot.
NOTE: Some waxes that come direct from the refineries can have micro bubbles or even air trapped within the crystalline structure. "Cooking" the wax for about 30 minutes helps reduce the flaws that naturally occur in the wax after it has been made into a candle.
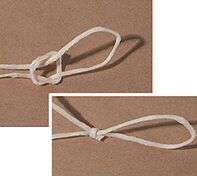
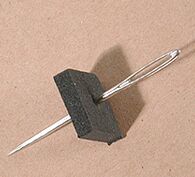
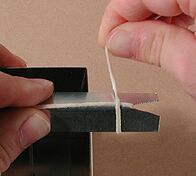
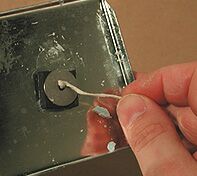
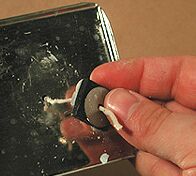
Cut a length of wick 20". Tie a slip knot in one end of the wick. Using the small wicking needle, poke a small hole in the center of the square black "Gasket" sponge.
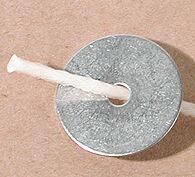
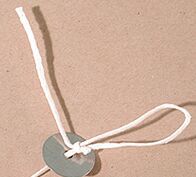
Insert the unknotted end of the wick through the hole of the metal washer. Slide the washer along the wick until it comes to rest against the slip knot.
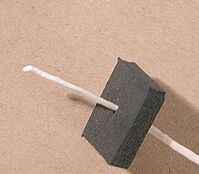
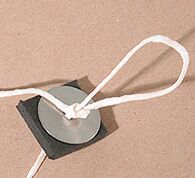
Insert the unknotted end of the wick through the hole in the "Gasket". Slide the "Gasket" along the wick until it comes to rest against the metal washer.
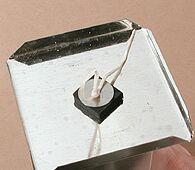
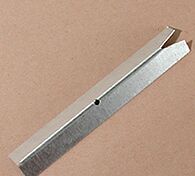
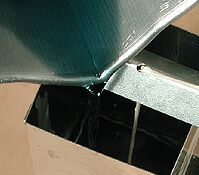
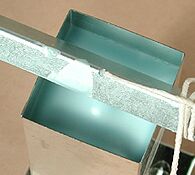
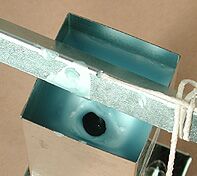
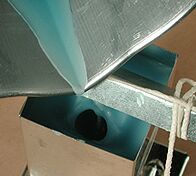
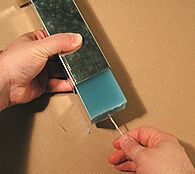
Turn the mold upside down. Slide the unknotted end of the wick into the wick hole in the center of the bottom of the mold. Push the wick through the hole until the "Gasket" comes to rest against the bottom of the mold.
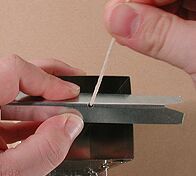
Hold on to the unknotted end of the wick. Turn the mold over "right side up" and set it down on the work surface.
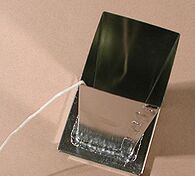
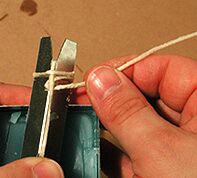
Slide the unknotted end of the wick into the hole in the wick bar.
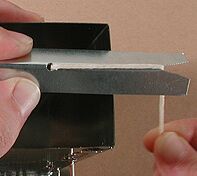
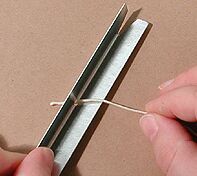
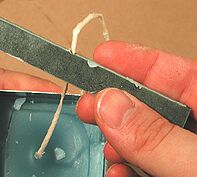
Slide the wick bar along the wick until it comes to rest against the top of the mold. Gently press down on the mold bar while gently pulling up on the wick until it is taut. Bring the wick downward into the notch at the end of the wick bar.
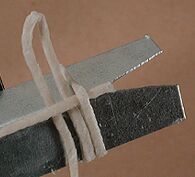
Wrap the wick around the bar one time. Slide the end of the wick under the length of the wick crossing the top of the wick bar.
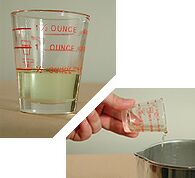
Add 1/2 oz. of scent to the wax. For a heavily scented candle, use 1 oz. of scent. Gently stir wax with stir stick to make certain dye and scent are fully incorporated.
NOTE: It is necessary to add the scent to the wax just before it is poured into the mold. If the scent is added to the wax and allowed to sit for too long before being poured you run the risk of diminishing the potency of the scent. Pour the wax into the mold. Fill the mold to within an inch of the top of the mold.

Allow the wax to cool until a thick skin has formed on the top of the candle. This skin will sink into a funnel shape. Use the Wood lighting Stick to poke a hole around the wick.
The surface of the wax will shrink more as it cools. Pour more wax into the mold. Be careful not to pour past the top of the first pour.
Allow about eight hours for the wax to completely cool.
Untie slip knot by pulling on the end. Slide the washer and gasket off.
Untie wick from wick bar. Slide wick bar off.

Look for separation from sides of mold. Gently pull on the wick to remove from mold. If the candle does not come out of the mold, allow it to cool longer.
Cut wick flush with the bottom. Trim wick to 1/4" on the top.
Pour any unused portions of wax into a clean milk carton for future use.
NOTE: Never dispose of wax (liquid or solid) down any drain.